Modern cooking often feels like a high-stakes competition for perfection, yet there is a distinct, unpretentious comfort found in the recipes of the 1960s that we seem to have lost along the way. While this era is frequently remembered for its reliance on convenience foods and colorful presentations, these dishes were actually designed with a singular, admirable goal: to maximize time spent with loved ones rather than time spent in the kitchen. Rediscovering these mid-century classics offers more than just a taste of nostalgia; it provides a blueprint for stress-free hosting that prioritizes connection over culinary complexity.
Main Course: Easy Tuna Casserole With Egg Noodles
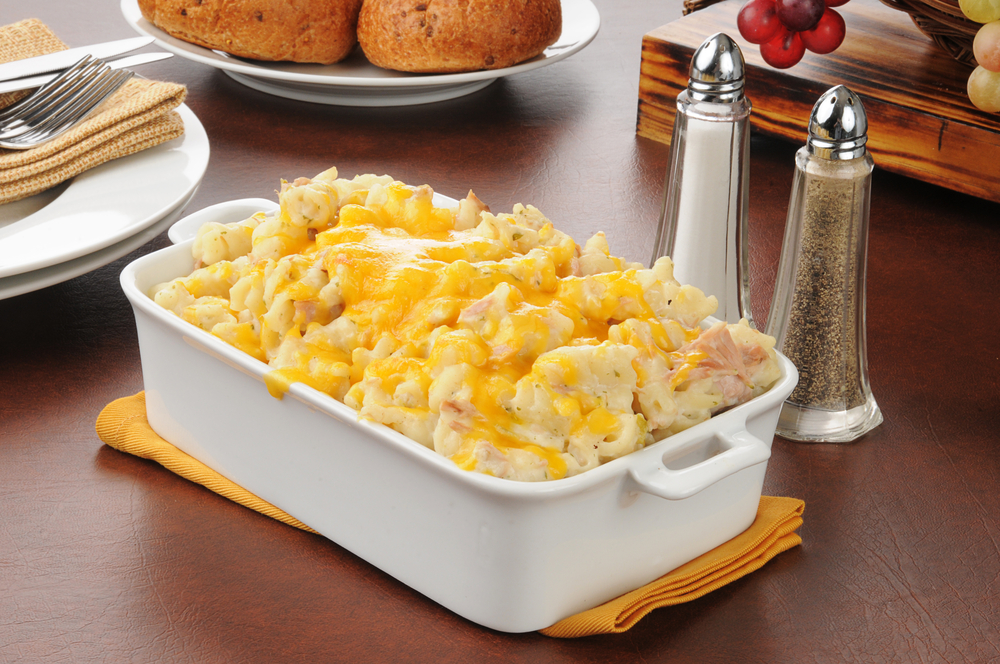
Few dishes capture the essence of mid-century American comfort food quite like the classic Tuna Casserole. Often regarded as a reliable weeknight staple for families during the 1960s, this dish gained popularity due to its reliance on accessible pantry essentials and minimal preparation time. It represents a straightforward approach to home cooking that prioritizes heartiness and versatility, proving that a satisfying meal can be assembled in just over half an hour.
Ingredients
- 2 cups egg noodles
- 2 (5-ounce) cans chunk light tuna in water, drained
- 1 (15-ounce) can peas, drained
- 1 (10.5-ounce) can cream of mushroom soup
- 1 cup milk
- 2 tablespoons unsalted butter, melted (plus extra for greasing)
- ⅓ cup dry bread crumbs
- Kosher salt and freshly ground black pepper
Instructions
Begin by adjusting the oven rack to the middle position and heating the oven to 400°F. While the oven warms, boil the egg noodles until they are al dente, following the package instructions. Grease a 2-quart baking dish. In a large mixing bowl, combine the cooked noodles, soup, milk, drained peas, and tuna, then transfer the mixture into the prepared dish.
Separately, stir the bread crumbs and melted butter together in a small bowl. Bake the casserole for 20 minutes. Remove it from the oven, sprinkle the buttery bread crumbs over the top, and bake for an additional 5 minutes. The dish is ready when the topping is golden brown and the casserole is bubbling hot. Season with salt and pepper to taste before serving.
Side Dish: Lawry’s Famous Creamed Spinach
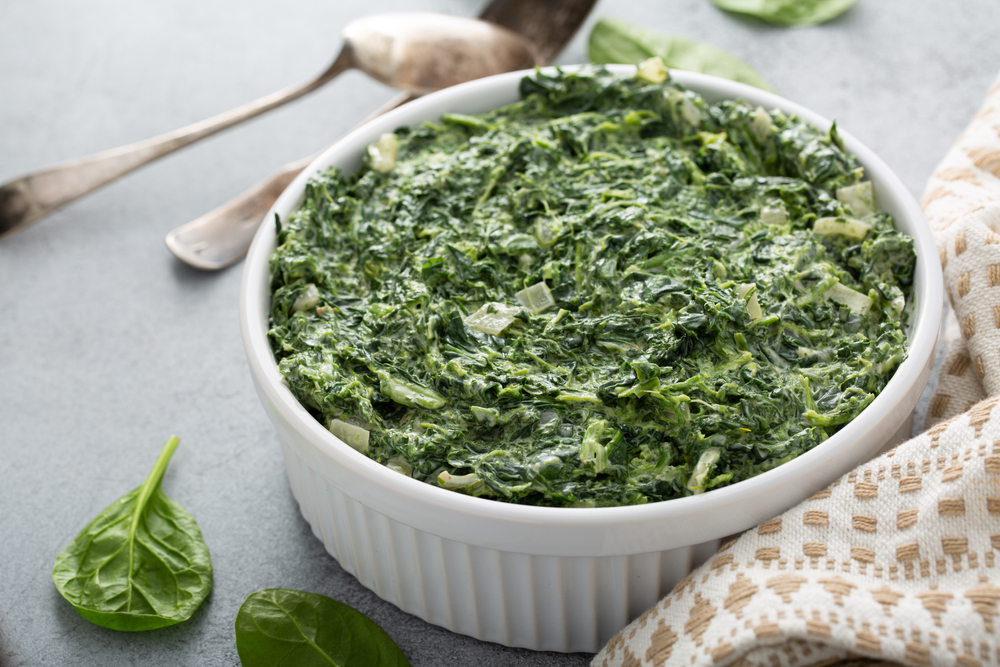
While Lawry’s Prime Rib is a legendary restaurant institution, its specific take on creamed spinach became a definitive culinary marker of mid-century fine dining. This recipe gained traction in the 1950s and remained a staple through the 1960s, teaching home cooks that vegetables could be decadent. The secret lies in the combination of a savory bacon base and a classic white sauce seasoned with nutmeg, transforming simple greens into a rich, velvety accompaniment perfect for roast meats.
Ingredients
- 1 pound baby spinach (fresh or frozen)
- 4 slices bacon, diced
- 1 medium onion, finely diced
- 1 clove garlic, minced
- 2 tablespoons unsalted butter
- 2 tablespoons flour
- 1 cup milk
- ¾ teaspoon Lawry’s seasoned salt
- ½ teaspoon white pepper
- ⅛ teaspoon ground nutmeg
Instructions
If using fresh spinach, blanch it in batches in salted boiling water for a few seconds, then immediately plunge it into ice water to stop the cooking. Squeeze out excess liquid thoroughly and chop. If using frozen spinach, simply thaw and squeeze dry.
In a medium skillet over medium heat, sauté the bacon for 2 to 3 minutes. Add the diced onion and cook until translucent, roughly 3 to 4 minutes more. Stir in the garlic, prepared spinach, and seasonings, cooking for another minute.
Separately, make the cream sauce by melting the butter in a saucepan. Stir in the flour and cook for about 2 minutes until slightly golden. Whisk in the milk, bring to a boil, then reduce heat and simmer until thickened. Combine the sauce with the spinach mixture. For the authentic texture, pulse the final mixture 3 or 4 times in a food processor, ensuring it retains some substance rather than becoming a puree.
Appetizers, Sandwiches & Breads: Retro Ribbon Sandwiches
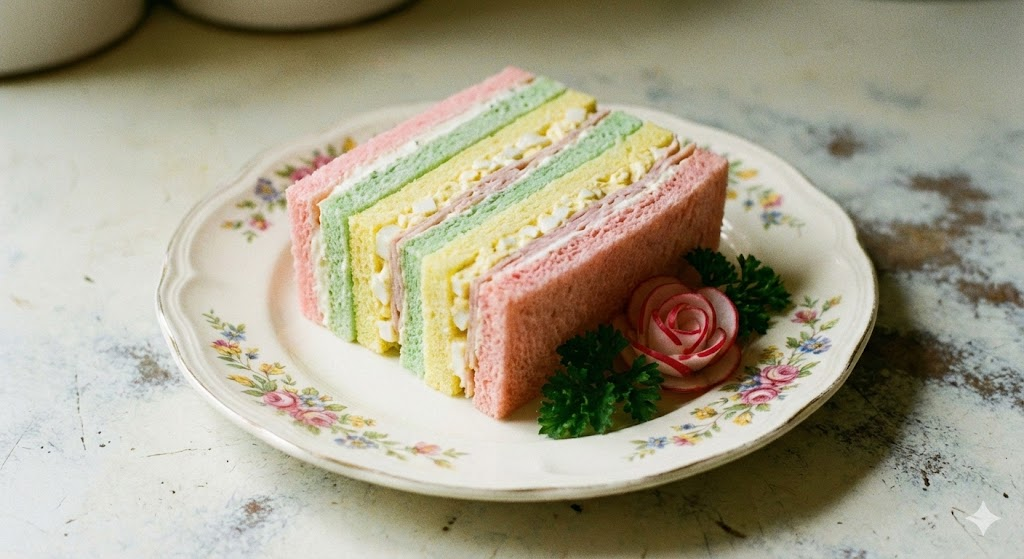
Ribbon sandwiches were a hallmark of mid-century entertaining, frequently appearing at tea parties, bridal showers, and luncheons throughout the 1960s. These multi-layered creations turned the humble sandwich into an architectural statement, reflecting an era when hosting prioritized meticulous presentation. The visual appeal relies on alternating distinct, colorful fillings between long horizontal slices of bread, creating a striped or “ribbon” effect when sliced. It transforms ordinary ingredients into something festive and serves as a reminder of the detailed care home cooks put into social gatherings.
Ingredients
- 2 loaves of bread, sliced horizontally (a sturdy Pullman loaf is ideal)
- Butter, softened
- 3 cups total of assorted fillings (1 cup each of three choices, such as egg salad, ham salad, tuna salad, or pimento cheese)
Instructions
To achieve the signature look, four long, horizontal slices of bread are required for each loaf assembly. Begin by buttering the slices, ensuring the pieces used for the top and bottom are only buttered on the interior-facing sides. Place the bottom slice on a work surface and spread approximately one cup of the first filling evenly over it.
Top this with a slice of bread buttered on both sides, then spread one cup of a different filling, such as ham salad, over that layer. Repeat with a third slice of double-buttered bread and the final cup of filling (perhaps a cheese spread). Cap the stack with the final slice of bread. Using a sharp serrated knife, trim off the crusts to create clean edges. Slice the loaf crosswise into one-inch thick segments to reveal the colorful layers. These can be served immediately or covered tightly with plastic wrap to prevent drying out before guests arrive.
Dessert: No Bake Pineapple Dream Dessert
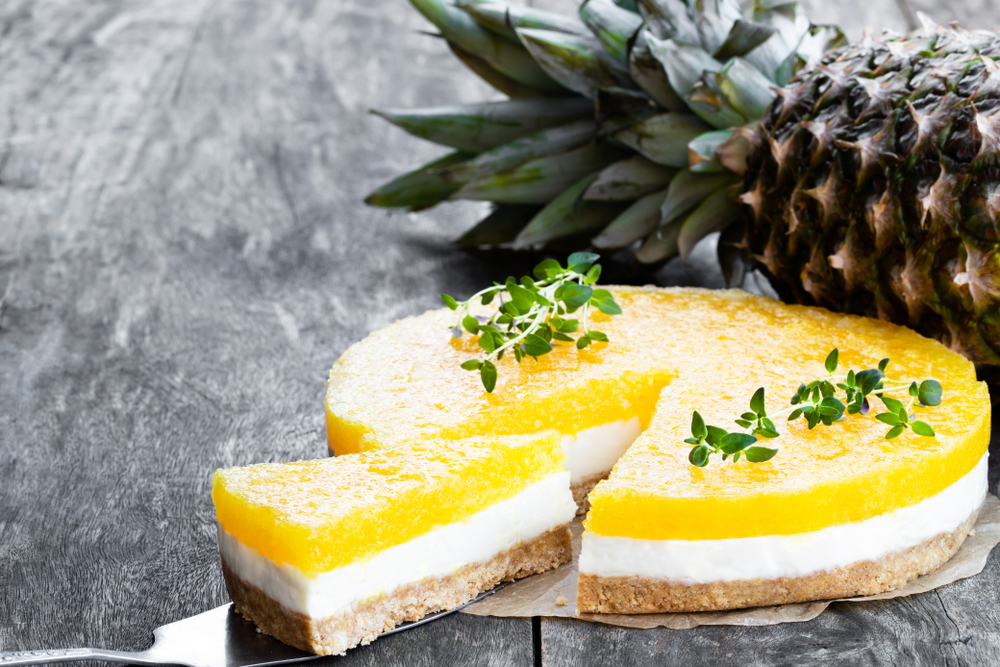
The widespread adoption of electric refrigerators and the introduction of convenient, pre-whipped toppings in the mid-1960s revolutionized American dessert making. “Icebox cakes” and lush desserts became incredibly popular because they allowed home cooks to produce impressive sweets without turning on the oven, a significant benefit during hot summer months. This Pineapple Dream Dessert perfectly encapsulates that era’s fascination with tropical flavors—likely influenced by Hawaii’s statehood just a few years prior—and the demand for quick, crowd-pleasing recipes that relied on pantry staples like graham crackers and canned fruit.
Ingredients
- 1 (8-ounce) package cream cheese, softened
- 1 cup powdered sugar
- 1 (8-ounce) tub whipped topping
- 1 cup crushed pineapple, thoroughly drained
- ½ cup granulated sugar
- ½ cup melted butter
- 20 square graham crackers, crushed (approx. 1½ cups crumbs)
- ¼ cup shredded coconut
- ¼ cup diced pineapple, drained
Instructions
Begin by preparing the filling. In a medium mixing bowl, beat the softened cream cheese with an electric mixer until it reaches a slightly fluffy consistency. Gradually add the powdered sugar, mixing until fully combined. Next, blend in the whipped topping until the mixture is light and aerated. Using a spatula, gently fold in the drained crushed pineapple and set the bowl aside.
For the crust, combine the crushed graham crackers, granulated sugar, and melted butter in a small bowl. Mix until the crumbs are moistened and hold together slightly. Press this mixture firmly into the bottom of a 9×9-inch baking dish to form an even base. Spoon the cream cheese filling over the crust and smooth the surface with a spatula. Finish by sprinkling the shredded coconut and diced pineapple over the top. Refrigerate the dish for at least 2 hours to allow it to set before serving.
Beverage: Easy Mai Tai

The Tiki culture phenomenon reached its peak in the mid-1960s, influencing everything from architecture to home décor. At the center of this movement was the Mai Tai, a cocktail that came to symbolize the era’s fascination with Polynesian pop culture and exotic escapism. While later decades often reduced this drink to a sugary, neon-colored novelty, the classic mid-century version owes its reputation to the complex interplay between fresh citrus, almond-flavored orgeat, and a robust blend of rums. This specific recipe focuses on the drink’s foundational flavors, omitting added simple syrup to allow the distinct notes of the spirits and liqueurs to shine without being overly sweet.
Ingredients
- 1 ounce dark rum
- 1 ounce light rum
- ½ ounce Cointreau
- ½ ounce orgeat syrup
- ¾ ounce lime juice
- Ice cubes
Instructions
To prepare, combine the dark rum, light rum, Cointreau, orgeat syrup, and lime juice in a cocktail shaker. Add enough ice to cover the liquid. Shake the mixture vigorously until the outside of the shaker feels cold to the touch, ensuring proper dilution and chilling. Strain the cocktail into a Collins glass filled with fresh ice. Garnish as desired, typically with a lime wedge, mint sprig, or cherry, to complete the presentation.
Condiment: Homemade “Miracle Whip” Style Dressing
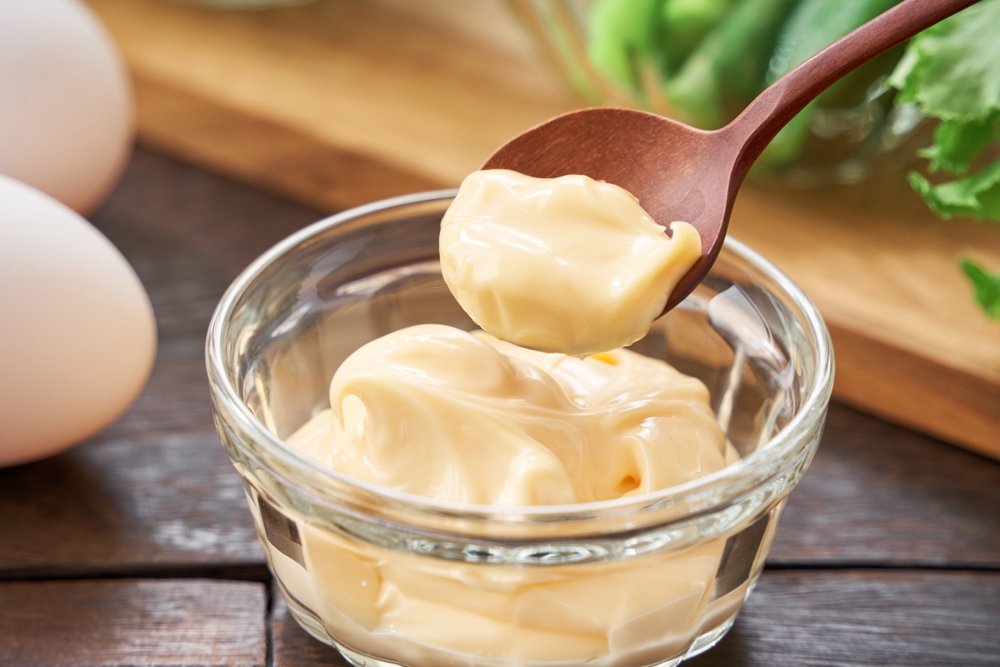
In the mid-20th century, the great debate in American kitchens often centered on the choice between standard mayonnaise and the tangy, sweet “salad dressing” commercially known as Miracle Whip. While traditional mayonnaise is strictly a suspension of oil, egg, and acid, this alternative style—which became ubiquitous by the 1960s—incorporated sugar and a specific blend of spices like paprika and dry mustard. Making it at home offers a fresher perspective on this retro condiment, delivering the nostalgic, zesty kick essential for vintage potato salads and sandwiches, but with a cleaner flavor profile than the jarred version.
Ingredients
- 1 egg
- 5 teaspoons white wine vinegar
- 1 tablespoon sugar
- ¼ teaspoon salt
- ¼ teaspoon lemon juice
- ¼ teaspoon dry mustard
- ¼ teaspoon paprika
- 1 cup light-flavored oil (such as canola or vegetable)
Instructions
Place the egg, white wine vinegar, sugar, salt, lemon juice, dry mustard, and paprika into a food processor. Blend these ingredients until they are thoroughly mixed and slightly foamy.
The critical step in this process is the emulsification. With the food processor still running, slowly pour the oil through the feed tube. It is important to take a full minute to pour the cup of oil; rushing this step can prevent the mixture from thickening properly. Once the dressing has thickened to a creamy consistency, transfer it to a glass jar with a tight-fitting lid. It can be stored in the refrigerator for up to two weeks.
A Return to Simple Hospitality
There is a distinct charm in realizing that a satisfying meal does not always demand hours of labor or professional-grade equipment. These 1960s favorites endure because they manage to balance flavor with an ease that modern life often lacks. Bringing dishes like the classic Mai Tai or the simple tuna casserole back to the table does more than just fill a plate; it revives a spirit of laid-back entertaining where the focus remains firmly on the conversation and the company, rather than the perfection of the plating.

Marina Ankunding
Wednesday 1st of April 2026
Attractive section of content I just stumbled upon your blog and in accession capital to assert that I get actually enjoyed account your blog posts Anyway I will be subscribing to your augment and even I achievement you access consistently fast
Text Explain
Sunday 29th of March 2026
Helpful and engaging article.
Backlinks
Friday 27th of March 2026
Thanks for sharing this guide.
Lonnie Mullins
Sunday 22nd of March 2026
Thank you for the auspicious writeup. It in fact was a amusement account it. Look advanced to more added agreeable from you! By the way, how could we communicate?
Alprazolam 2mg
Saturday 21st of March 2026
Alprazolam 2mg